A kitchen subway tile backsplash has become a staple in both new builds and renovated homes. This timeless look blends classic charm with modern practicality, offering a simple way to elevate walls that take a beating from cooking splashes. When you search for design inspiration or practical tips, you’ll notice how often this option is recommended for its versatility and enduring appeal. In this guide, you’ll learn how to choose the right size, color, and layout to fit your space.
One major benefit is affordability. Subway tiles are widely available in ceramic and porcelain, and budget-friendly options mimic premium materials without sacrificing durability. The crisp, rectangular shapes are easy to clean and reflect light in a way that makes kitchens appear larger. A well-chosen grout color can either fade into the background for a seamless wall or create a bold border that accents cabinetry. The result is a backsplash that resists the grime of daily cooking while remaining stylish for years.
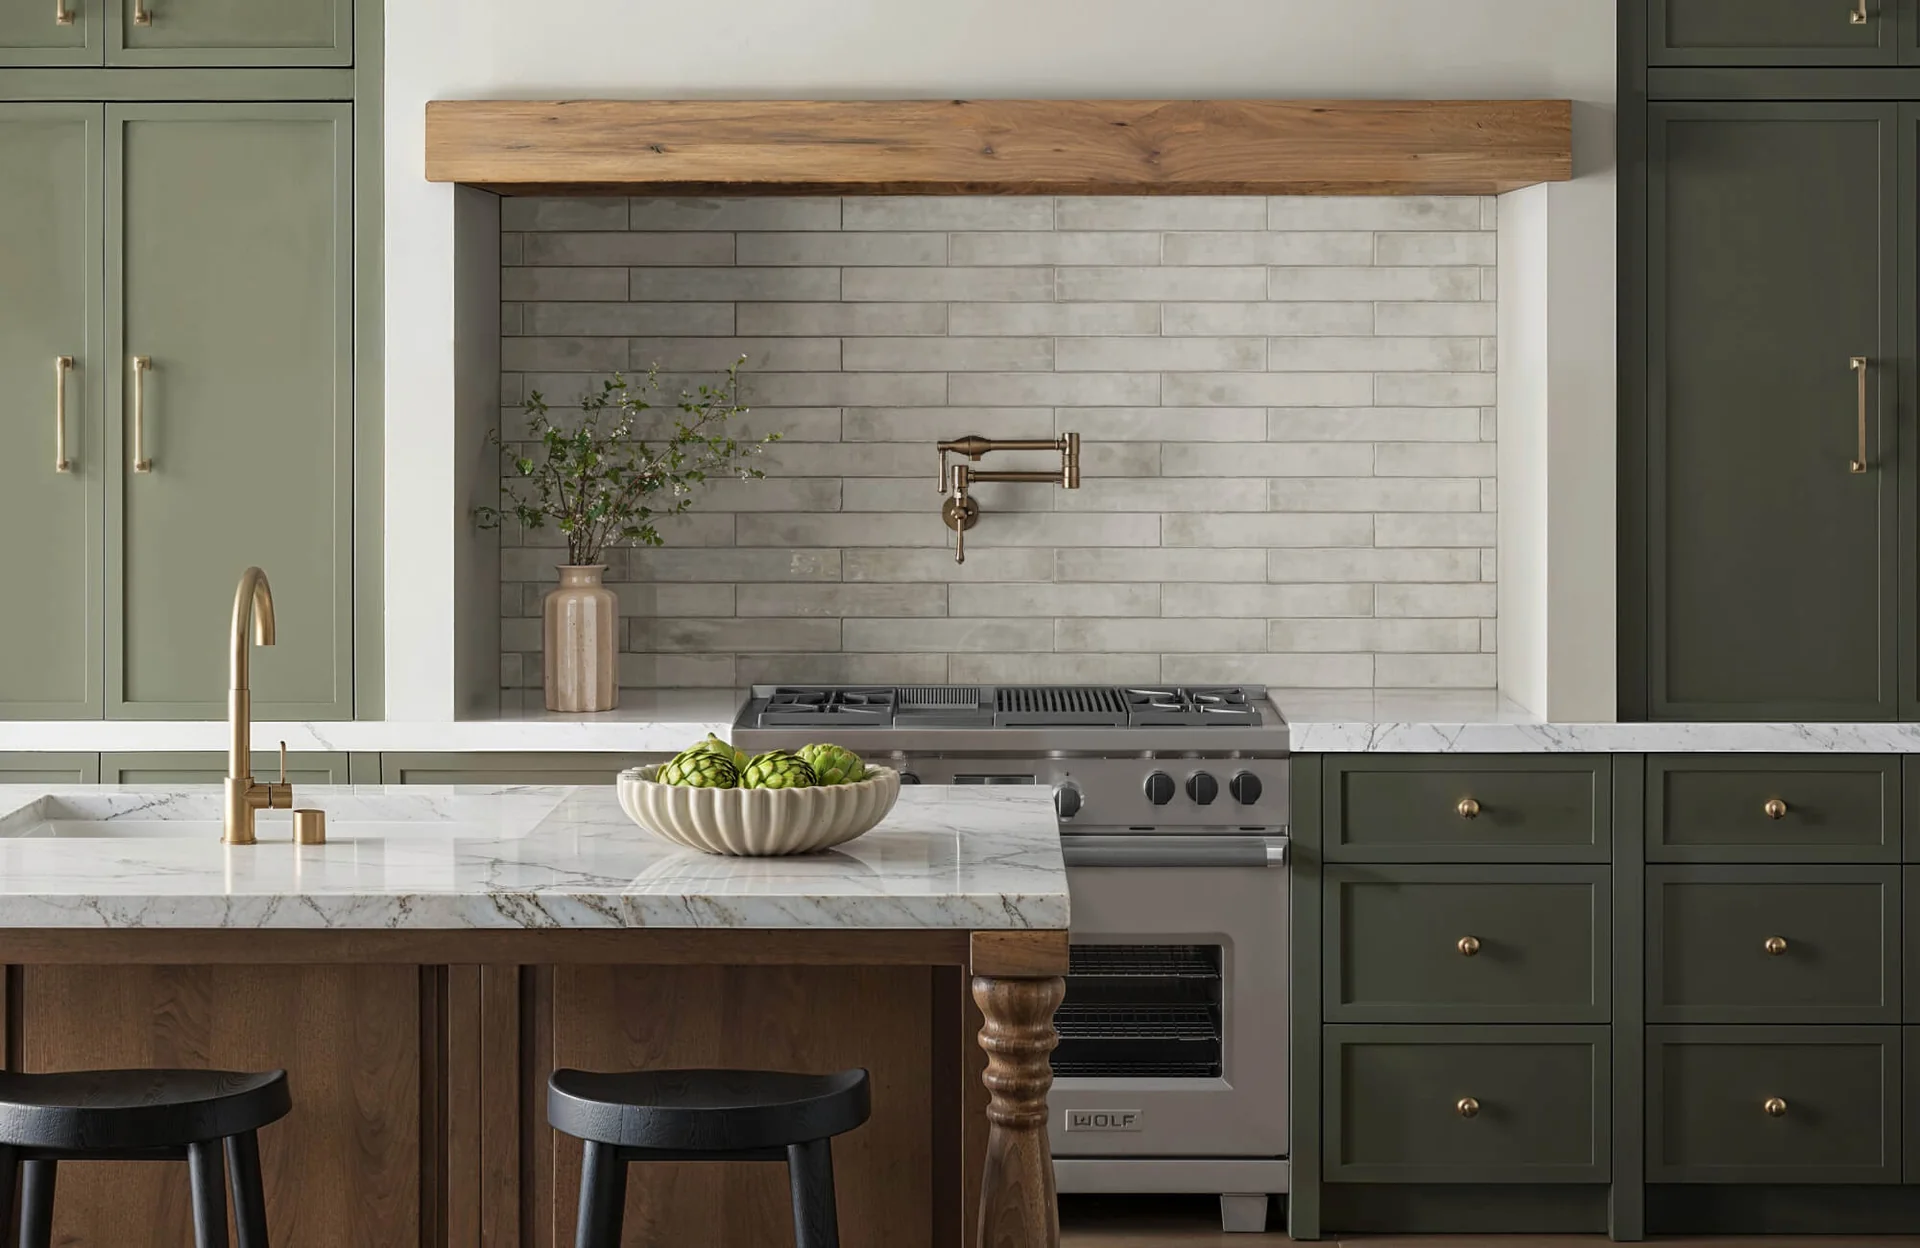
When it comes to styles, the options are surprisingly broad. Classic white with a light gray grout gives a clean, timeless look that works with almost any cabinet color. For a contemporary vibe, consider larger formats such as 3×12 or 4×16, or opt for a bevel or herringbone pattern that adds subtle texture. Colorful glazing, matte finishes, or iridescent glazes can also take the trend in a playful or luxe direction. The key is to balance tile size, grout, and cabinet tones to avoid visual clutter. Consider testing tile samples in your space under different lighting to see how the color and sheen shift during the day.
Layout matters as much as tile choice. A traditional staggered brick layout remains popular, but selecting a stacked or offset pattern can dramatically change the room’s rhythm. Random offsets or vertical running bonds can draw the eye along the wall and create the impression of height. For smaller kitchens, a bright white finish with a light grout makes the ceiling feel higher, while darker grout on light tiles can ground the space with a sophisticated edge. Consider how the backsplash interacts with the range hood and countertops to keep the eye moving smoothly. If you tile near a pantry or doorway, plan for a small border to break up long runs and keep the eye moving.
Maintenance is straightforward but worth planning for. Porcelain and ceramic tiles resist moisture well, but grout requires periodic attention. Sealing cementitious grout helps guard against stains, and everyday cleaning with a mild detergent keeps the surface gleaming. If you opt for a marble-look glaze, be mindful of etching and choose a sealant that guards against acidic spills. Simple habits, like wiping splashes promptly and using a soft brush for grout lines, can extend the life of your backsplash.
Cost and installation vary with tile size, material, and labor. A DIY install can save money, but precision is essential to avoid lippage and uneven grout lines. If you’re tiling behind a stove or sink, you may need heat- or moisture-rated materials and a professional’s touch to ensure a seal. Durability, waterproofing, and warranty terms are worth reviewing before you commit. A clear plan and a measured shopping list help you stay on budget while achieving professional results.
For more home design ideas and product recommendations, visit A Home Guru. This resource hub regularly features kitchen trends, tool reviews, and step-by-step guides to help you bring the kitchen you want to life. If you’re researching the look you saw online, you’ll find a detailed buying guide in the kitchen-subway-tile-backsplashes section to compare materials, finishes, and installation options. With the right planning, a kitchen subway tile backsplash can be both functional and beautiful for years.