Storms can leave telltale signs of damage that aren’t immediately visible from the ground. A proactive roof check helps prevent leaks, mold growth, and further structural problems. This guide focuses on practical, safe ways to assess roof condition after a severe weather event and what to do next to protect your home.
Safety First After a Storm
Before you climb or lean ladders against the house, consider safety. If there’s lightning, strong winds, or damaged power lines, stay indoors. Avoid walking on a wet or slippery roof, and never attempt to inspect from the edge of a steep pitch. Use binoculars or a camera with a zoom lens from the ground to spot obvious issues. If you’re uncomfortable with heights or roof complexity, contact a licensed roofer or a storm restoration contractor. Safety isn’t optional when you’re balancing on a ladder; it’s the foundation of a thorough, risk-free assessment.
How to Check Your Roof Safely From the Ground
From the ground, you can gather valuable information that guides your next steps. Start by looking for signs of damage to visible components and exterior features. Check for:
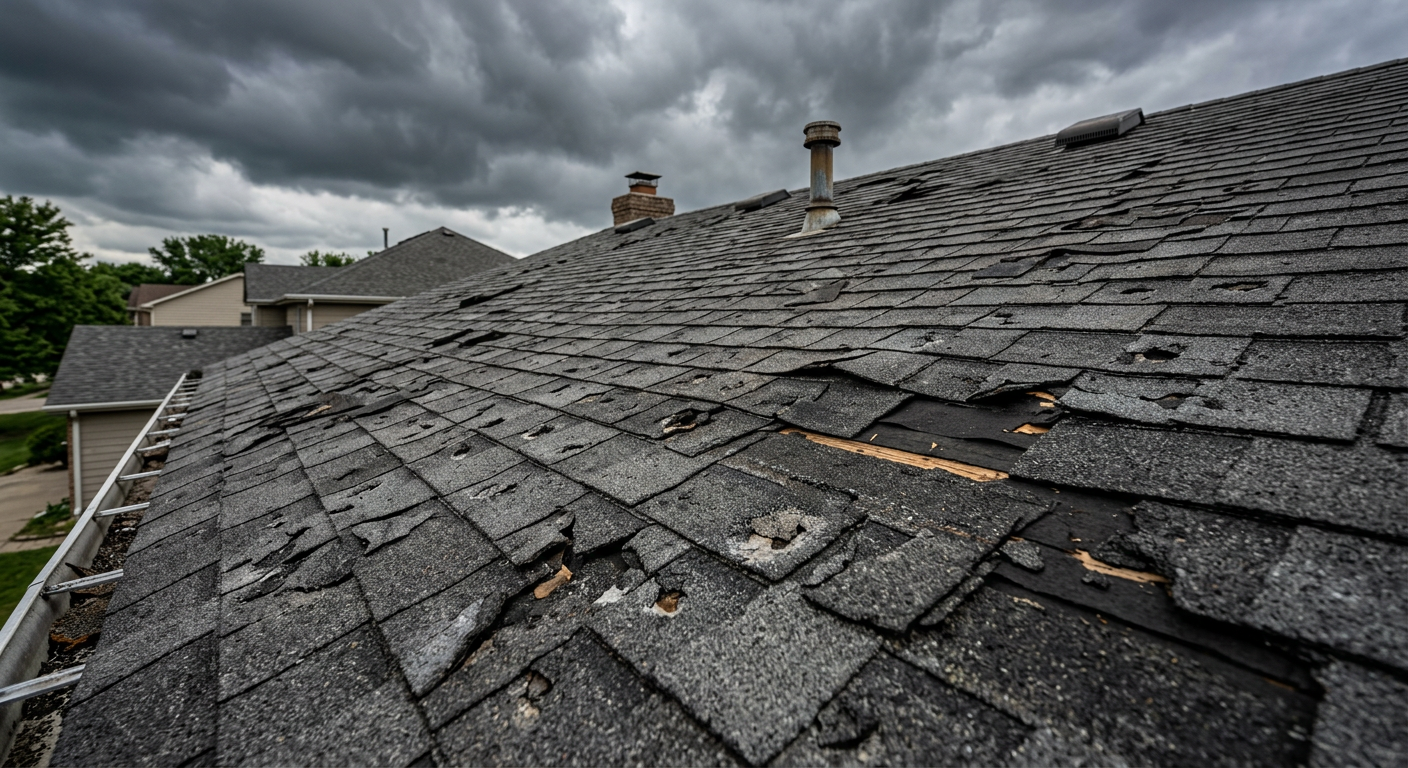
- Missing or curled shingles, especially along edges and valleys
- Granule loss in gutters or on the ground near downspouts
- Raised nails or metal flashing that appears bent or displaced
- Sagging or soft spots in the attic floor that indicate leaks
- Dislodged chimney caps, vent boots, or skylights
While you’re inspecting, note the direction of wind and the location of any roof damage relative to the storm. Take photos with date stamps for your records and insurance purposes. If you notice active water intrusion (rain dripping into living spaces), stop the inspection and address indoor leaks first with temporary tarps or plastic sheeting. For a detailed, step-by-step guide, you can refer to how to check your roof in the event of storm damage/.
What to Look for When You Climb or Inspect Up Close
If you have safe access and local codes permit it, a careful, limited up-close inspection can reveal hidden problems. Look for:
- Cracked or torn shingles, especially near chimneys, vents, and edges
- Damaged flashing around vents, valleys, and dormers
- Saturated decking or visible dawns (holes) in the roof underlayment
- Water stains in attic sheathing or along the rafters
Document any findings with clear photos, noting the exact locations and approximate sizes of damage. If you cannot safely access certain areas, rely on professional inspectors who have the right equipment and training to evaluate roof integrity without compromising safety.
When to Call a Professional
There are times when a DIY check isn’t enough. If you notice significant shingle loss, large gaps in flashing, structural sag, or attic moisture that worsens after rain, contact a licensed roofer or storm restoration expert promptly. A professional assessment can identify issues that aren’t obvious from the ground and prevent latent damage from escalating. Additionally, many insurers require a professional assessment to process claims accurately.
Documenting Damage for Insurance and Repairs
Effective documentation speeds up claims and clarifies repair needs. Compile a damage report with written observations, dated photographs from multiple angles, and a list of damaged components. Keep a record of communications with your insurer and any contractors you contact. If you want a structured guide on this topic, visit the HomeVotel homepage for related resources and tips on home maintenance and storm readiness.
Remember, the goal of a post-storm roof check is to identify dangerous or compromising damage quickly and to plan appropriate action. Regular maintenance, proactive repairs, and timely professional assessments can extend the life of your roof and protect your home from future weather events.